I gave you this, and told you instructions were coming....
Well then I realized that my craft room is a total disaster, and I was tired of it.
Also, our lease is up soon, and we are trying to figure out all the stuff when it comes to that.
Blah.
So on to the main event!
Gather your pieces.

I decided to show you how to make this hat, with it lined.

Sew these things...
Sides and Bill


All the things sewn. Don't forget to sew the dart into the top of the hat.

Not comes some of the hard.
Take the top of the hat with both the liner, and the outside stuff, fold in half.
Wrong sides together.


Take the side pieces and line up the centers together.
This is the most difficult part of this WHOLE thing.
Sew following the curve.
Hint: I start with the center and work my way down, then start again in the center and work my way down the other side.


Ta-Da! Almost done.


Now for the bill. Find the center of the bill, line it up with the seam in the front.

This is where the "strap" comes in. If you are not lining the hat, sew the strap of fabric in place of the lining.
Don't forget to leave an opening to turn this right side out.


Top stitch or hand sew the hole closed.
All done.


What cha think?


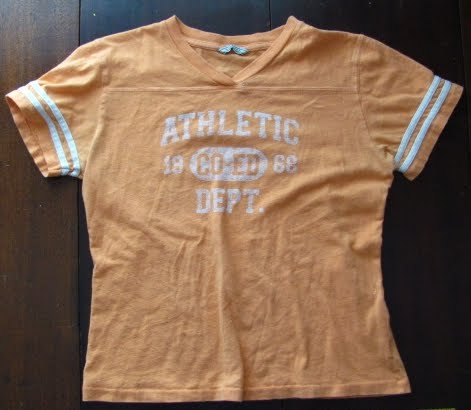
I made this out of an old shirt, which I wouldn't recommend.
Unless you like this look.
p.s. I know I used black thread, I know!!
That's what was in the serger, and I was TOO lazy to change it.
So there. I'm a rebel.

11 comments:
That's such a cool hat!! I love that it's made from an old shirt. I linked to your tutorial over at Craft Gossip Sewing:
http://sewing.craftgossip.com/free-pattern-make-a-drivers-cap/2010/07/28/
--Anne
This hat is great! I'm impressed. And who cares about the serging. I've altered a soft blue vest that had LIME serging inside.
How fun! Great job. And it is nice to know that my sewing room isn't the only one that is a mess. . .
Thanks for linking!
Leisel
Brown Paper Packages
How fun! Great job. And it is nice to know that my sewing room isn't the only one that is a mess. . .
Thanks for linking!
Leisel
Brown Paper Packages
thanks for sharing.i've been looking all over for a pattern for a hat like this :)
Thanks for sharing the pattern. I don't sew, but was just looking for a sewing pattern to base a crochet version on.
I just finished making this. Neat idea, but you could definitely flesh out the directions a little bit. At no point do you mention what to do with the cardboard for the brim. And adding a little bit of elastic at the back would make a big difference in fit as well. But I think it's a good place to start and I like the finished piece. Thanks for making this tutorial.
Hi. I would LOVE to try your pattern. Unfortunately, it's now in Scribd Archive status so I cannot download or print your pattern without paying a fee to them. Would you please recall or exclude your patterns (or at least this very cool cap pattern) from archive status?
Here's the link on how.
http://support.scribd.com/entries/224907-my-document-is-in-the-scribd-archive-but-i-do-not-want-it-to-be-what-can-i-do
Thanks!
Thanks for the pattern! My hubby and baby boy are getting them for father's day. I was tormenting myself making one, without taking his apart, but finally found yours! Thanks!
Awesome. Thinking of taking this and trying to make one for mesself. May link it on my facebook for my crafty friends if you don't mind.
-Josh T
This is the same pattern for a Super Mario and Luigi hat. Add the M or L. I made them for my children 10 years ago. Cute hats!
Post a Comment